
Crafting with Little Kids: Mother’s Day votives
My mother has a vase that is covered with decoupaged paper that my grandmother made when she was a schoolgirl for her mother. I’m not positive of the technique she used back then, as it has to be over 80 years old at this point, but it gave me some inspiration for this craft to do with kids. It is a combination of mosaics and decoupage techniques, simplified for little hands. Using recycled jelly jars (or even baby food jars) and gluing tissue paper on the glass gives the finished jar a mosaic look. Initially I had planned to use the finished embellished jars as small flower vases, that would not be water proof. My brilliant three year old has a better suggestion: candle holders. Not wanting to create a fire hazard, I used small battery powered tea lights instead of wax candles, making this a truly kid-friendly gift for mom or grandmom!
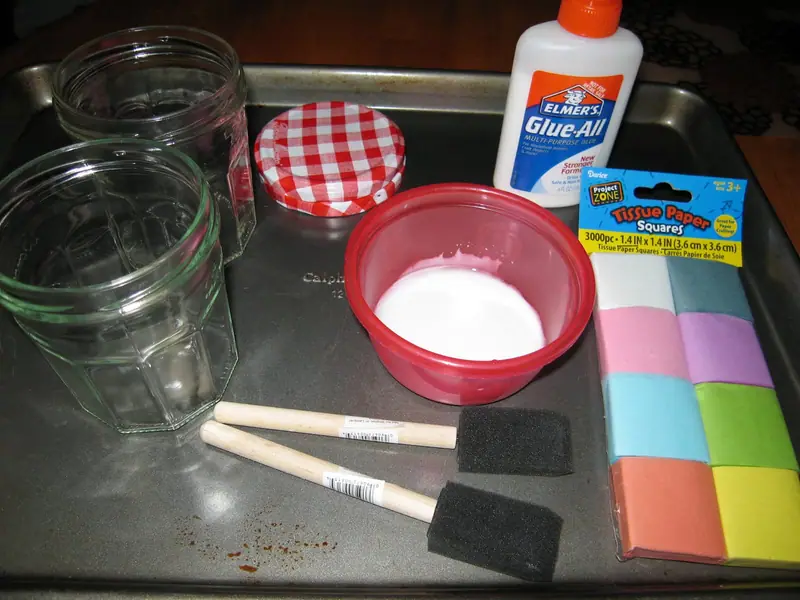
Supplies:
- Jelly jars, run through the dishwasher and labels removed
- white craft glue, such as Elmer’s, and a small plastic bowl
- foam craft brushes, a paint brush will work as well
- tissue paper: I found a pack of tissue paper in a variety of colors pre-cut into little squares at the craft store. Sheets of colored tissue paper can be substituted and either cut or torn into small pieces for the purposes of this project.
- Cookie sheet or tray to protect table
- Smock for your kid…the glue is messy
Directions:
- Use a cookie sheet or tray to cover your work surface. This makes it easy for clean up and to move the drying jars after completed without handling them too much, as the tissue paper tears easily when the glue is wet.
- In a small plastic bowl, mix a couple of tablespoons of white craft glue, the kind that dries clear, with a bit of water to make a very watery consistency. I used about a 60-40 glue to water ratio. If the glue is too thick, it might tear the tissue paper when applying a second coat.
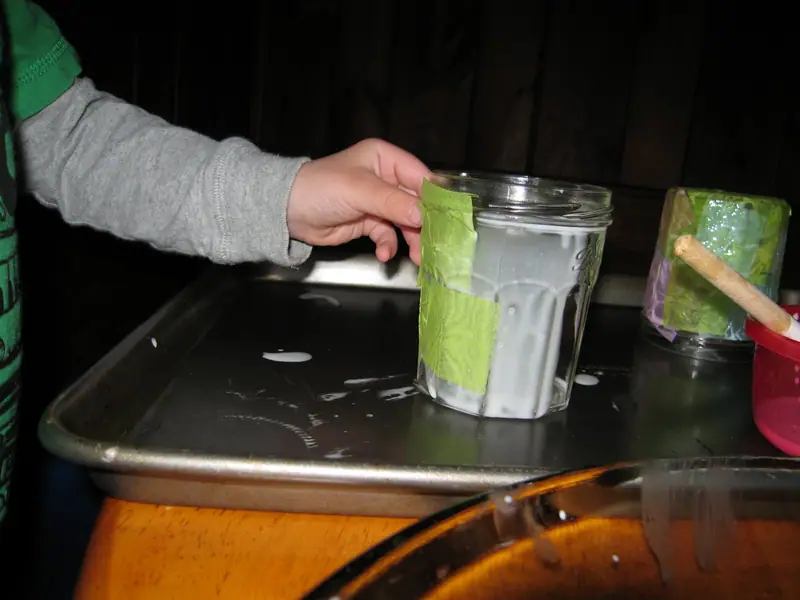
- Using foam craft brushes, paint brushes, or even a finger, spread glue on the outside of the jars, leaving a thin and even coat. My son loved doing this, although it is messy! (I kept a wet washcloth on hand to clean up his hands.) We applied glue to half the jar and then reapplied and added as needed.
- Once the glue is applied, add the tissue paper pieces, layering them and covering as much of the glass as you wish. We added several layers and overlapped colors, adding more glue as needed. I found that it was easy to smooth out the tissue paper with a finger dipped in glue. Once the entire jar is covered, the adult can go over the surface of the jar with a second coat of glue to adhere any loose corners. Use a finger dipped in glue for this if the first layer is still wet, as the tissue paper seems to tear more easily with a brush. We also covered the bottom of the jars, although that isn’t necessary.
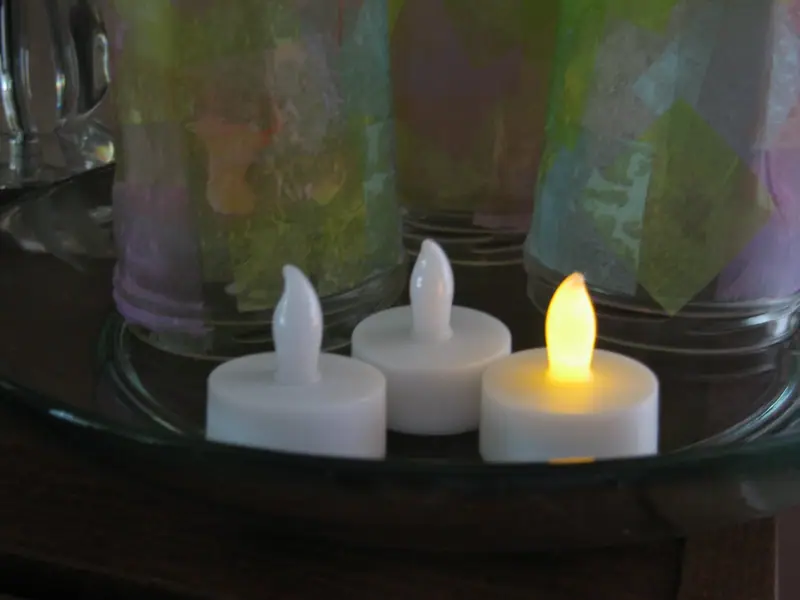
- To make the finished jar into a candle holder, I added a battery operated tea light “candle” but you could add a real tea light candle too, just use caution when lighting! (And never let kids play with candles.) The finished jar can also be used as a treat jar or catch-all jar. Maybe your kids will come up with another use for it!
 Optional: tie a ribbon around the neck of the jar for gift giving!
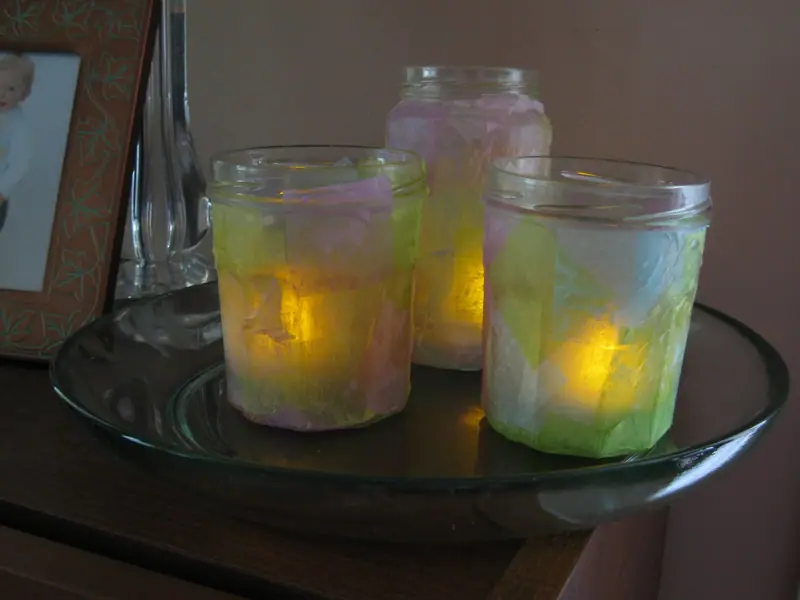
Happy Mother’s Day to all the moms and grandmoms!
You can find more craft ideas and adventures with a preschooler on Diane’s blog KnittingZeal.
Tagged With: Crafting with Little Kids, Crafts for little kids, Knitting Zeal
Originally published by Sarah Freymoyer and the Philly Burb Moms team on May 4, 2011.