
Build your own raised vegetable garden. Easy- step by step directions from Chesco Mom Carrie
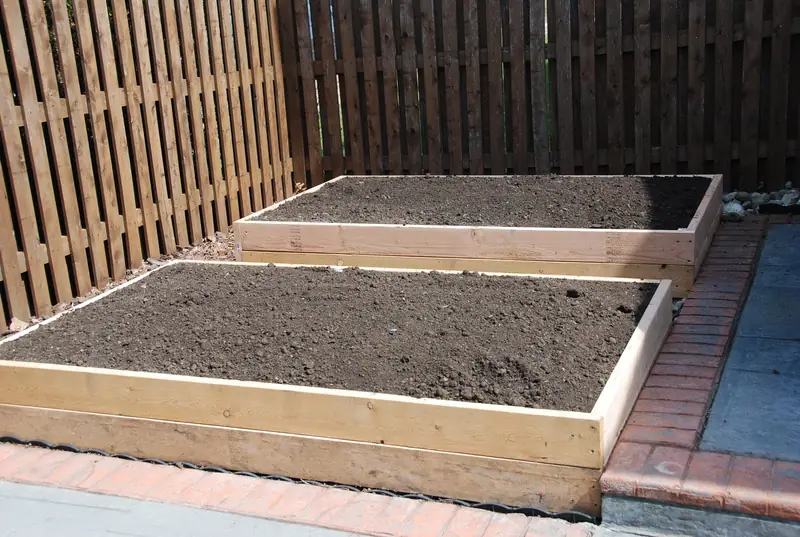
This week I am going to show you how to make a completely, easy, raised vegetable garden. (Tho I am using it for vegies, you can put whatever you want in yours.)
I know I am running kind of late this year, but better late than never! I made two 4′ X 8′ raised beds, but I will be giving the directions on how to make just one. I am really excited to show you all this, I hope you love it!! Lets first start off with what all you will need.
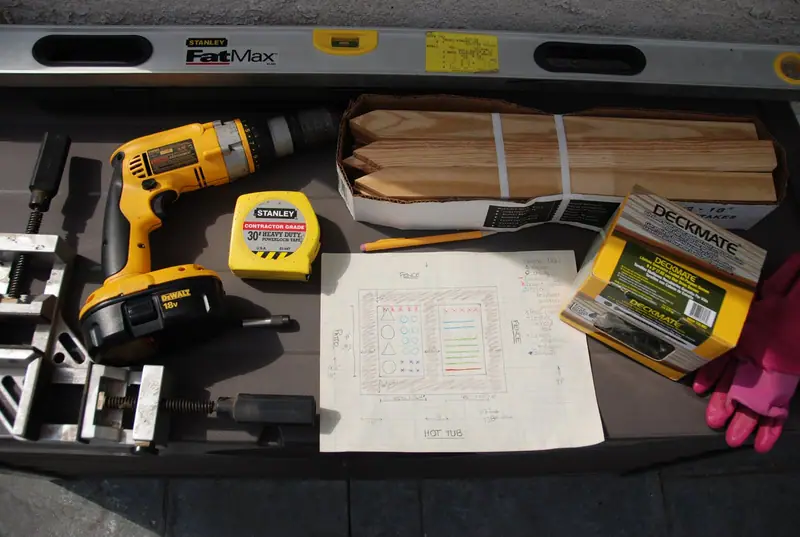
A Level…if you do not own one or can’t find where your hubby put his, you can use your phone. Yes, there is a app for that! (I have iHandy Level for the iPhone, it’s free)
A Drill with philips head bit
Tape Measurer (you only need this if you did not get your wood pre-cut or if you did not buy the exact size)
Plans (I have a graph of what i want my vegetable garden to look like)
Hammer (not pictured)
Gloves (yes, I am a wuss!)
Corner Clamp (best.tool.ever. Great if you are doing this project by yourself, like me. If you do not have one no biggie, you will just need someone else to hold the wood together while you drill)
A 1 pound box of 3″ exterior screws, I used 9(diameter) x 3″ (length) Deckmate Exterior Screws (home depot), these are the best, they require NO pre-drilling! Also it is important to use Exterior screws, this means they will not rust.
Qty: 4 – 2″ X 4″ X 18″ (my picture above shows stakes, I decided as I was building this bed that they were way to weak to withstand the load of soil that I was going to be putting in them, so I upgraded to 2 X 4′s)
Qty: 4 - 2″ X 6″ X 4′ *
Qty: 4 – 2″ X 6″ X 8′ *
*Tip, If you want to save some money, when you go to the Lumber Yard, buy 2, 2″ X 6″ X 12′ s and have them cut them down for you. The 12′ costs less than buying them all seperately! Some places, like the Home Depot charges 15 cents per cut, but I have never been charged.
Let’s get started…
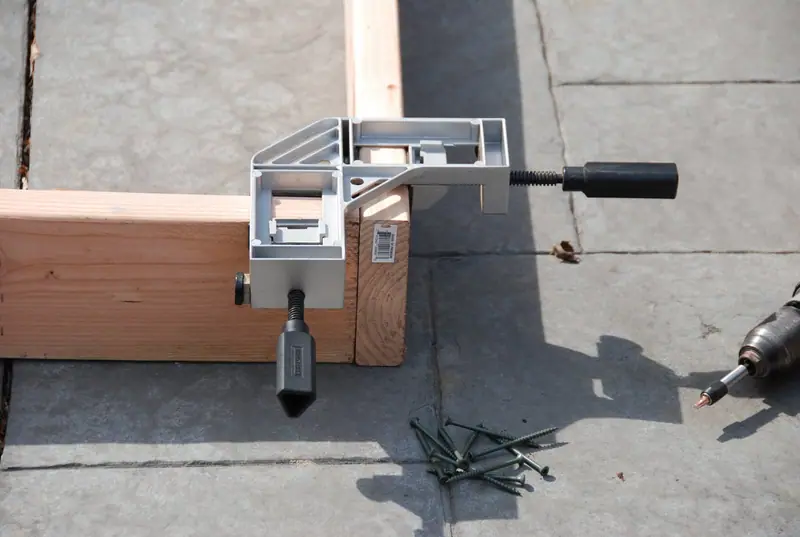
Butt the end of one of your 2 X 6 X 8 along the side of the end of your 2 X 6 X 4. Since I was doing this project by myself I used my new favorite tool, a corner clamp. I placed the wood into the jig and tightened the clamps, It held the 2 ends together so that all I had to do was screw into the end of the 2 X 6 X 4.
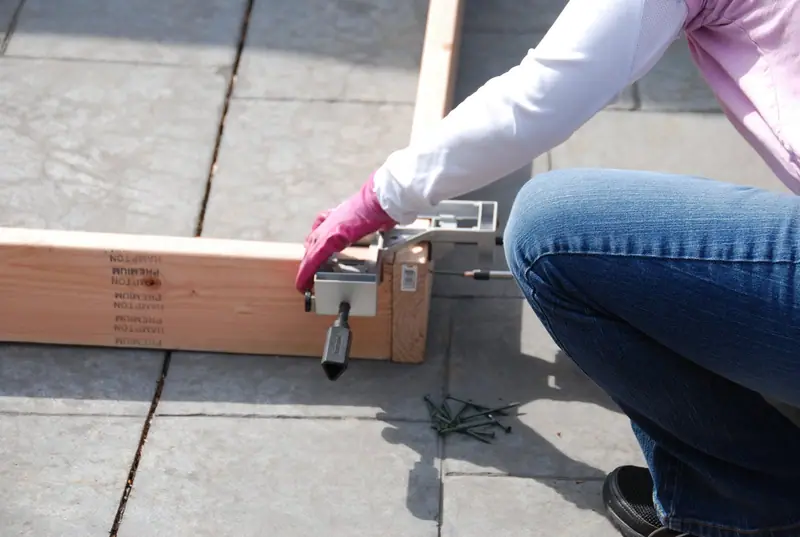
Above is a picture of me drilling two screws into the end of the 2 X 6 X 4 and into the top end of the 2 X 6 X 8. You can see how easy this was to do with the clamp. Now when I went to screw the next corner together, I staggered the ends, this gives the entire framework more rigidity. (woo hoo, big word)
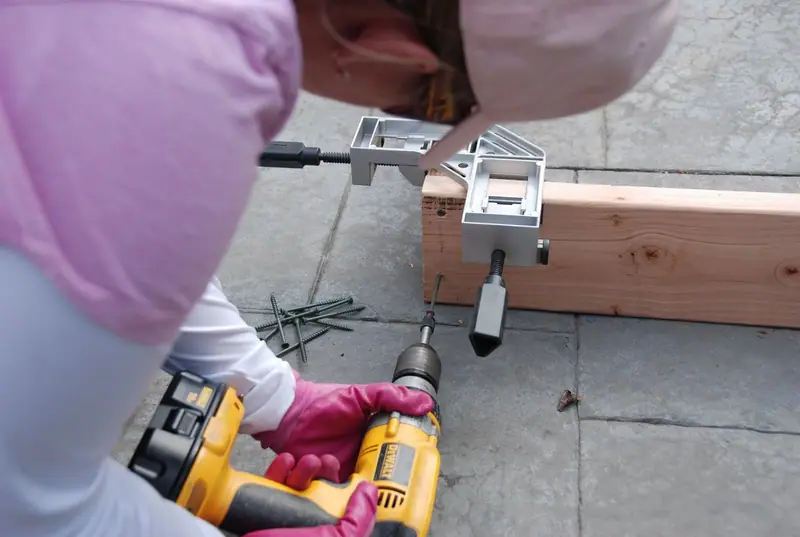
Here is an upclose picture of where the screws were placed. You can see I did not have to pre-drill the holes, because of the kind of screws I used.
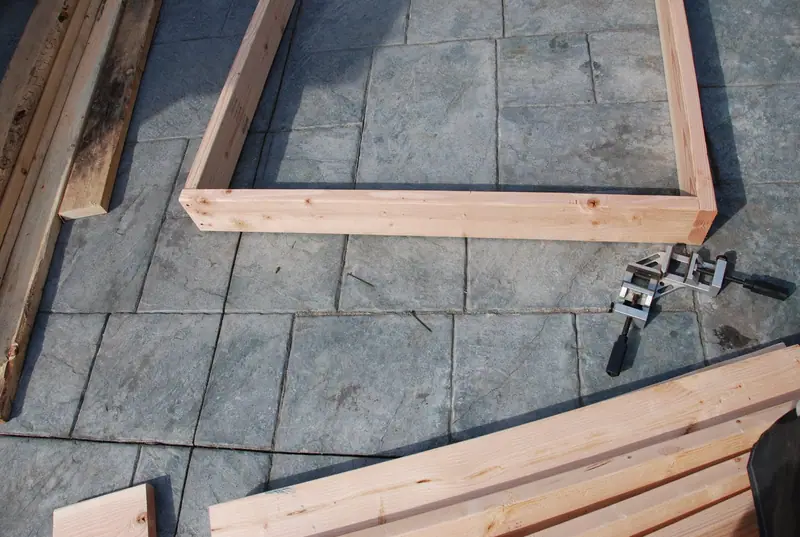
On this picture you can see how i staggered the joint on the right. Instead of drilling the 2 X 6 X 4 into the 2 X 6 X 8, I moved up the 8′ to the end of the 4′ piece and drilled the 8′ into the 4′. (sorry, I hope that makes sense) I followed these same directions on the bottom half of the frame also.
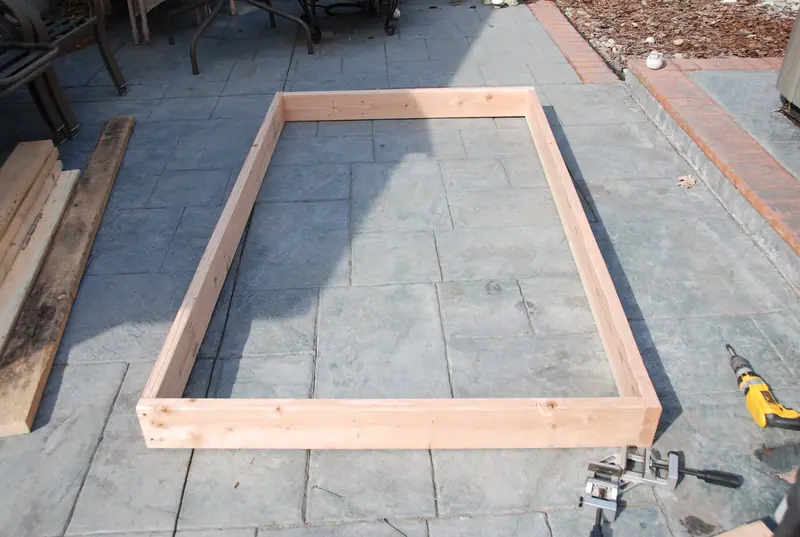
Here is what the first layer looked like! It only took me, myself and I, 25 minutes to do! I thought this was pretty good, especially with stopping to take notes and take pics! So repeat these steps again, so that you have two layers.
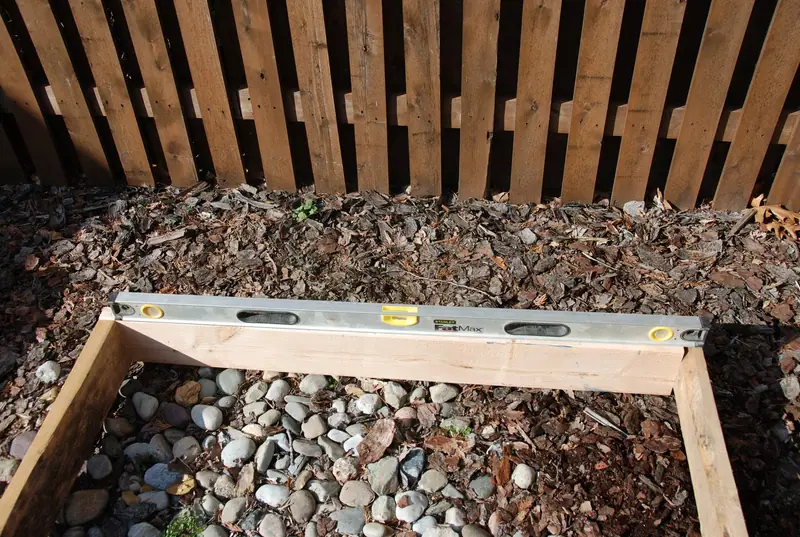
Next I took my bottom layer and placed it in it’s final location. Then I grabbed out my level and made sure that both ends and sides were level with the ground.
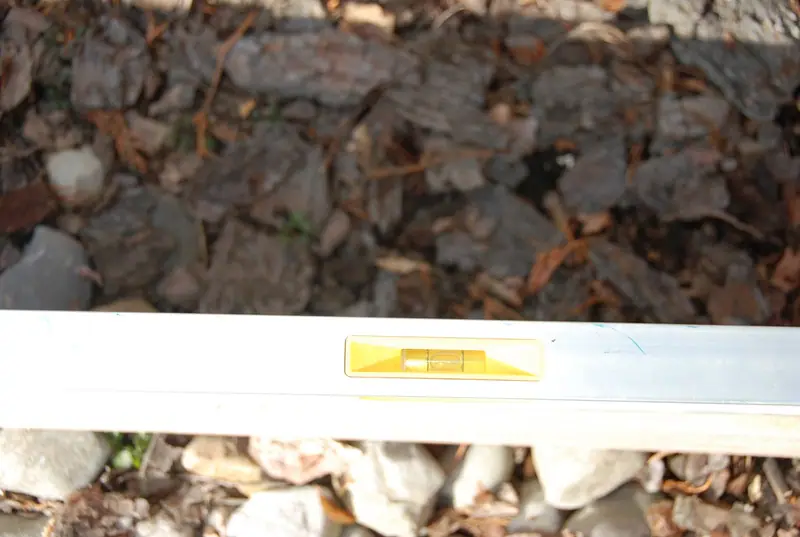
In case you have never used a level before, you want to make sure that the bubble stays in the center, in between the 2 black vertical lines.
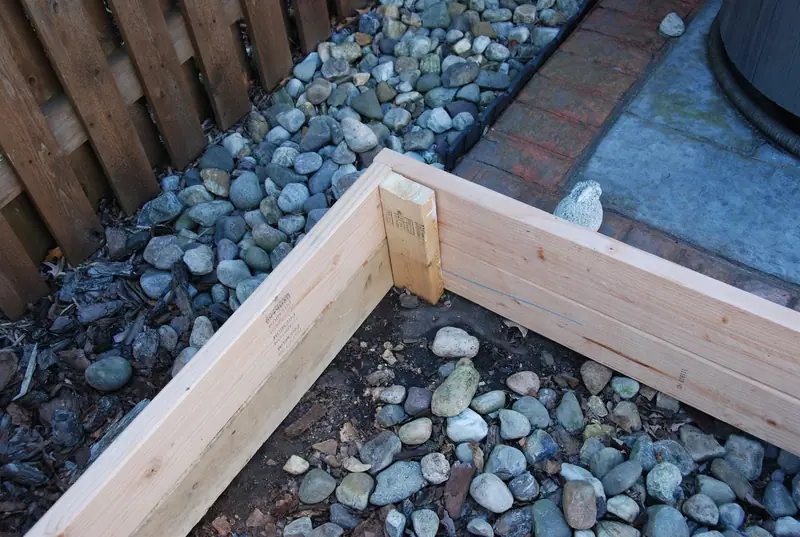
Above: Once I had both layers stacked and leveled I hammered in my 2 X 4 X 18″ stakes into it’s 4 corners. Since we have been getting so much rain in Chester County these days, it was super easy to hammer into the ground. I made sure to double check my level, just in case I threw anything off once I started hammering. Then all I did was grab my 3″ screws, and attached the 2 X 6 X 4′s and 2 X 6 X 8′s into the stakes.
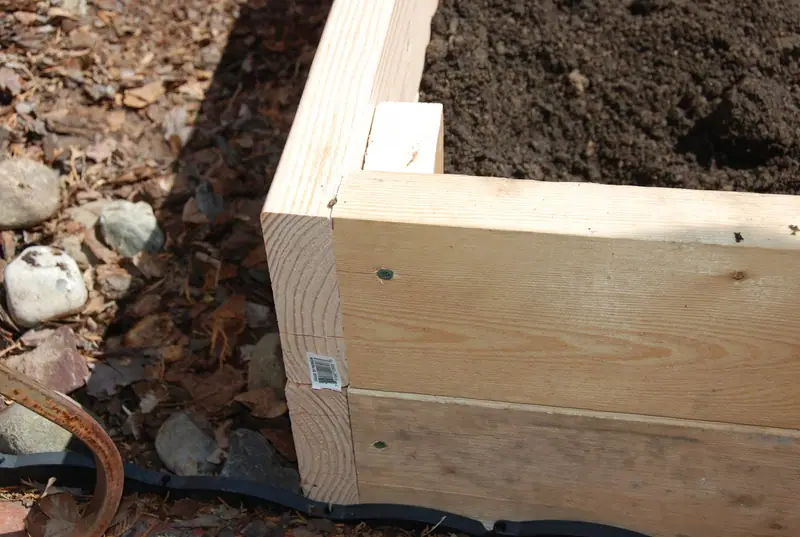
Above: Here’s what they looked like, when attached. I screwed two screws per side into each stake. Then all that was next was to fill her up with soil.
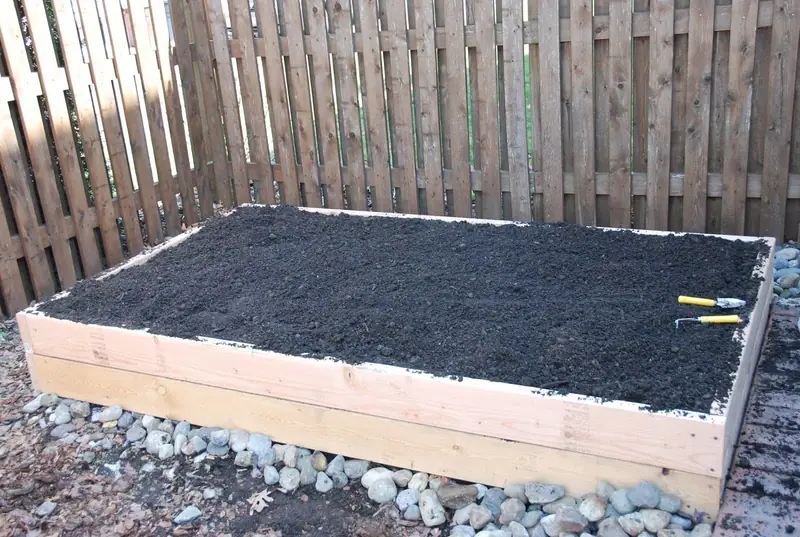
I used a mixture of topsoil and leaf compost. A raised bed this size takes about a yard and a half of soil.
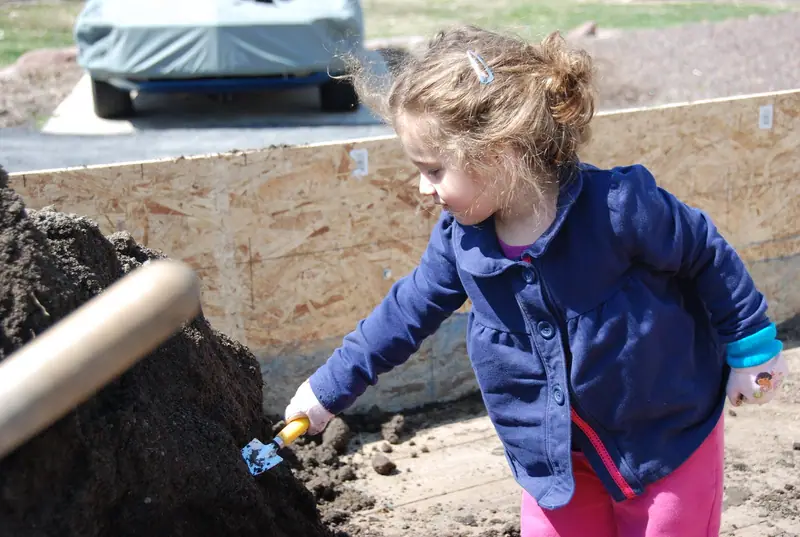
And don’t be afraid to ask for help, especially when moving all of that soil!! …it weighs like a ton…literally! Here’s my daughter, Hannah, helping out! I start ‘em out early around here!
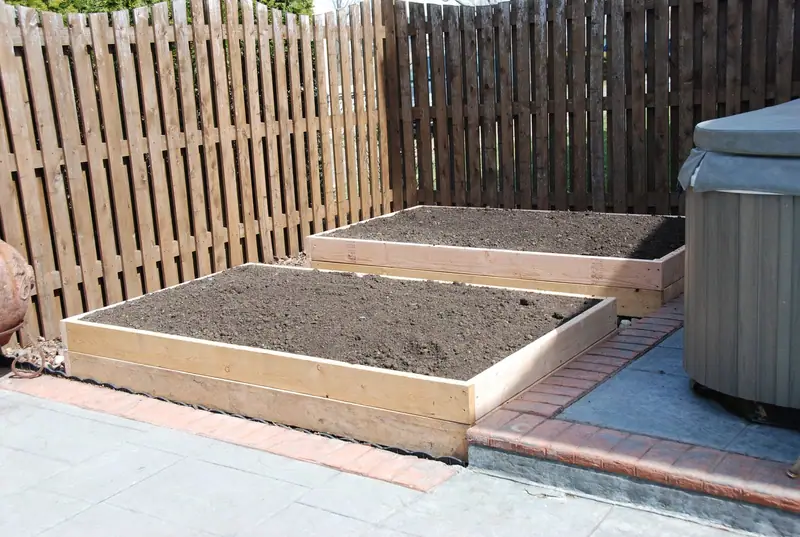
Here’s what two of them look like when you are all done! The only thing now left to do is plant! I hope you enjoyed this, and try it out for yourself! Happy gardening!
Carrie Longacre is a Chester County Mommy to a very active toddler, Hannah, and wife to her Landscaper husband, Marc. Carrie has been gardening ever since she could walk and has a degree in Horticultural Business from Penn State University.
Tagged With: Gardening, Gardening with Chesco Mom Carrie Longacre
Originally published by Sarah Freymoyer and the Philly Burb Moms team on April 11, 2011.